After sharing my journey in "My Own Little Corner of the Internet," I received so many questions about the technical side of things. How did I build my website? Why did I choose this setup? What tips do I have for others? Well, today, I’m pulling back the curtain and giving you the full breakdown.
My website is powered by Hugo (with the PaperMod theme), GitHub, and Netlify. It’s a lightweight, fast, and cost-effective setup that’s perfect for beginners and pros alike. Let’s dive in!
Why This Setup?
Before we get into the how, let’s talk about the why. Here’s why I chose this particular stack:
- Hugo: I wanted a static site generator that was fast, simple, and didn’t require a database. Hugo’s Markdown support and extensive theme library made it a no-brainer.
- GitHub: Version control is a must, even for solo projects. GitHub keeps my files organized and acts as a safety net for my content.
- Netlify: I needed a hosting solution that was easy to use and offered continuous deployment. Netlify’s free tier checked all the boxes.
Step 1: Setting Up Hugo with PaperMod
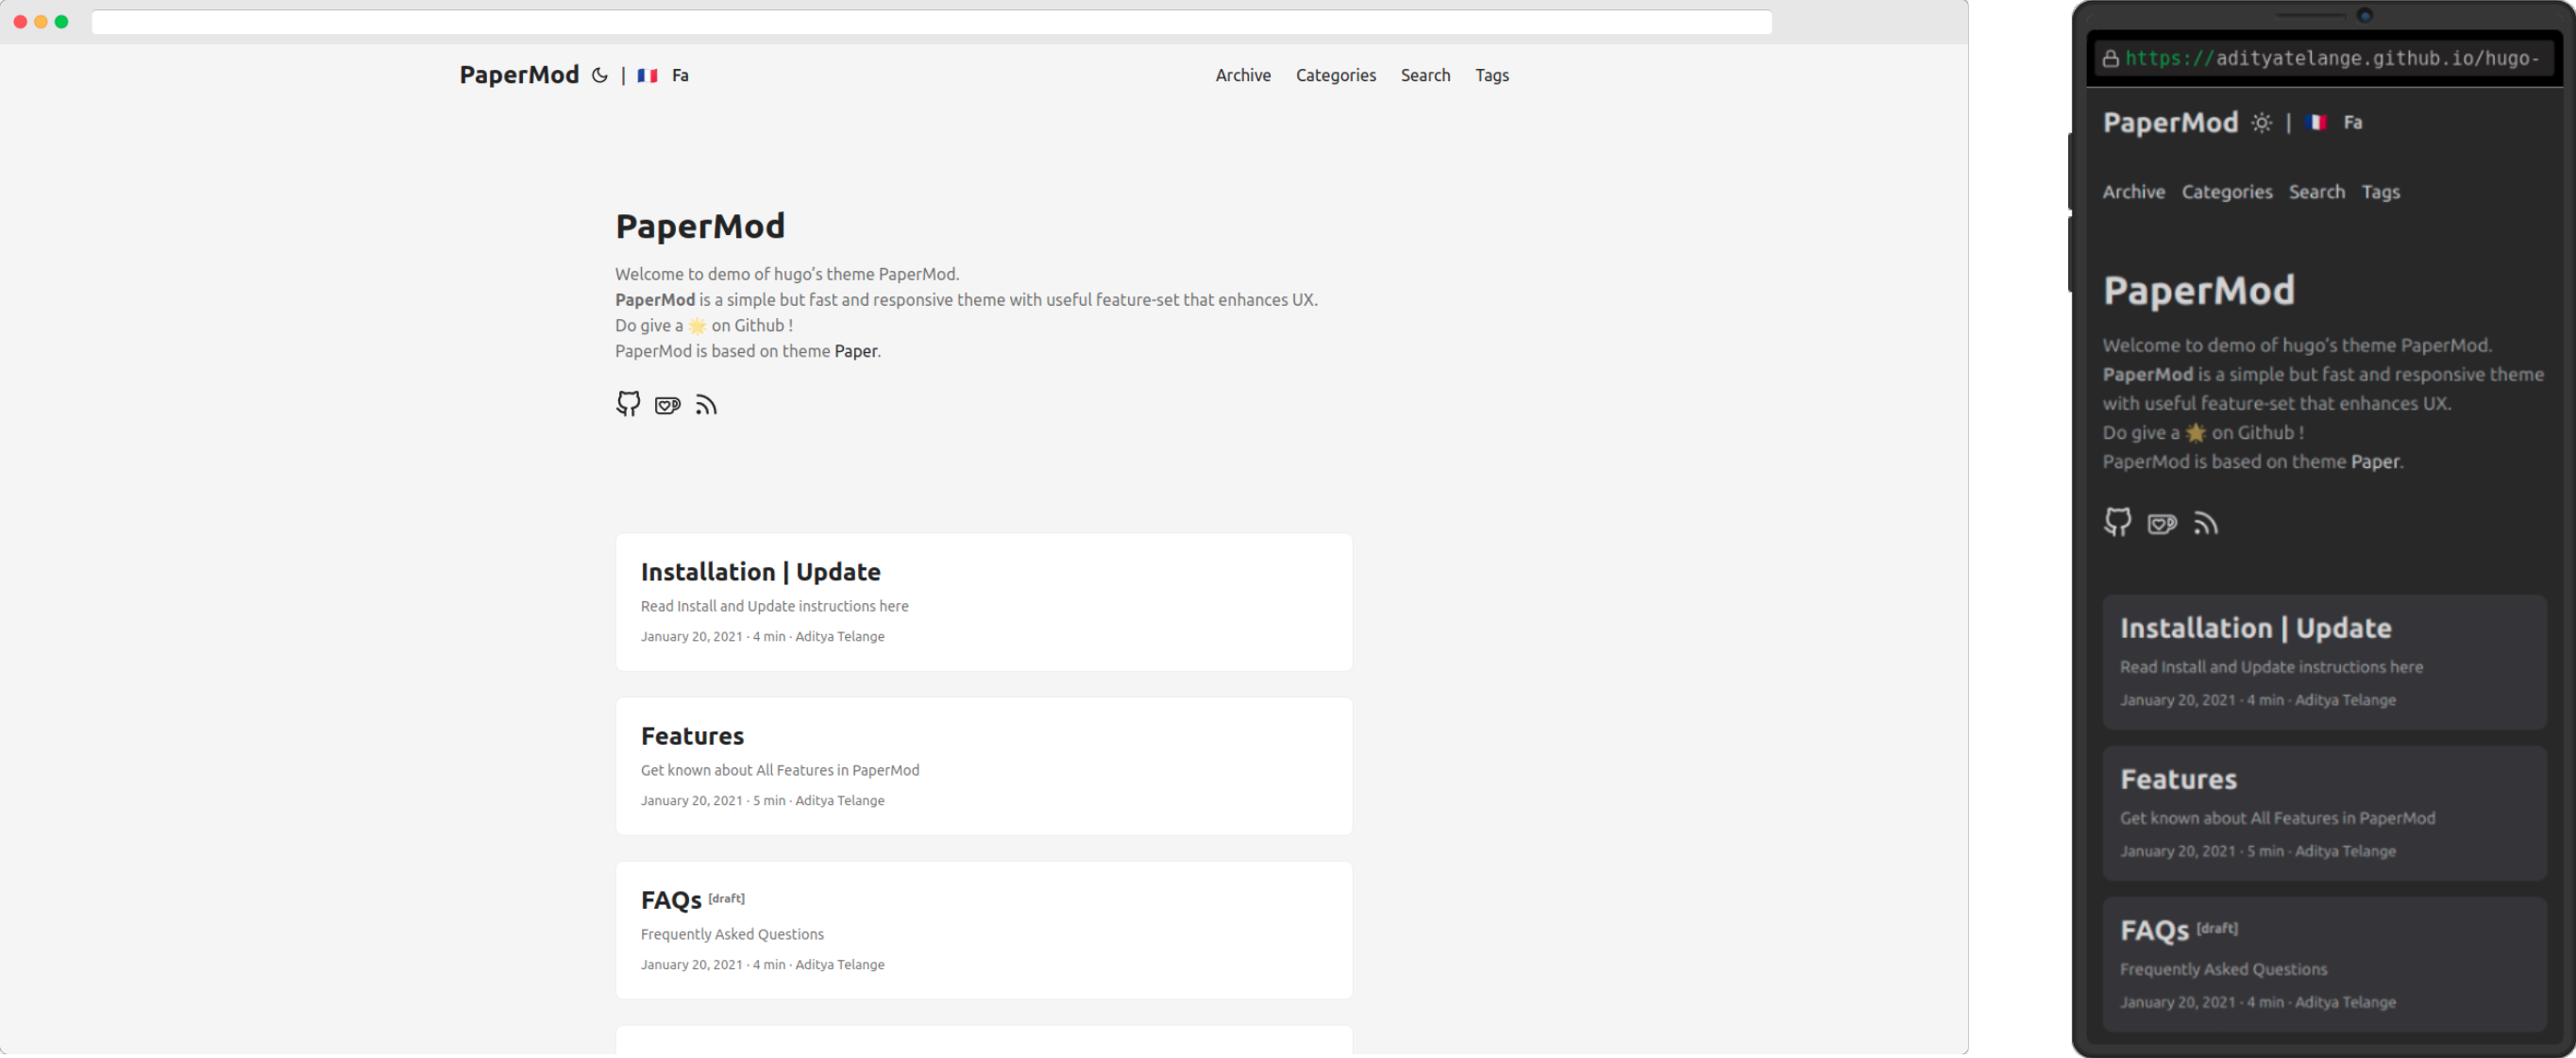
Why Hugo?
Hugo is a static site generator that turns Markdown files into a fully functional website. It’s incredibly fast, and since it doesn’t rely on a database, it’s also very secure.
Why PaperMod?
I chose the PaperMod theme because it’s clean, minimal, and highly customizable. It also has great documentation, which made it easy to tweak to my liking.
How I Did It:
- Installed Hugo: I followed the official Hugo installation guide to get it up and running on my machine.
- Created a New Site: I ran
hugo new site my-websiteto generate the basic structure. - Added PaperMod: I cloned the PaperMod theme into my
themesfolder and configured it in myconfig.tomlfile. - Created Content: I started writing posts in Markdown using the
hugo new posts/my-first-post.mdcommand.
Step 2: Version Control with GitHub
Why GitHub?
GitHub is essential for tracking changes, collaborating (even if it’s just with future you), and backing up your work. Plus, it integrates seamlessly with Netlify.
How I Did It:
- Created a Repository: I set up a new GitHub repository for my website.
- Pushed My Files: I used Git commands to push my Hugo site to the repository:
git init git add . git commit -m "Initial commit" git branch -M main git remote add origin https://github.com/username/repo-name.git git push -u origin main - Tracked Changes: Every time I made updates, I committed and pushed them to GitHub. This kept my work safe and organized.
Step 3: Hosting with Netlify
Why Netlify?
Netlify makes hosting and deployment effortless. It automatically builds and deploys your site whenever you push changes to GitHub. Plus, it offers free SSL, custom domains, and more.
How I Did It:
- Connected GitHub: I logged into Netlify, connected my GitHub account, and selected my repository.
- Configured Build Settings: Netlify detected my Hugo site and automatically set up the build command (
hugo) and publish directory (public). - Deployed My Site: With every push to GitHub, Netlify rebuilt and deployed my site. It was like magic!
Tips and Tricks Along the Way
Building a website isn’t always smooth sailing, but these tips helped me navigate the challenges:
- Learn Basic Git Commands: Even if you’re not a developer, knowing commands like
commit,push, andpullwill save you a lot of headaches. - Customize Your Theme: Don’t be afraid to tweak your Hugo theme. PaperMod’s documentation was a lifesaver for me.
- Use Netlify’s Build Logs: If something goes wrong, Netlify’s build logs are incredibly detailed and will help you debug issues quickly.
- Test Locally: Use
hugo serverto preview your site locally before deploying. It’s a great way to catch errors early.
Why I Love This Setup
Looking back, I’m thrilled with my decision to use Hugo, GitHub, and Netlify. Here’s why:
- Speed: Hugo generates static files, so my site loads in the blink of an eye.
- Control: I own every aspect of my site, from the design to the content.
- Automation: Netlify’s continuous deployment means I can focus on creating, not managing servers.
- Cost: The entire setup is free (or very affordable), making it perfect for beginners.
Ready to Build Your Own Corner of the Internet?
If you’re inspired to create your own website, I highly recommend giving Hugo, GitHub, and Netlify a try. It’s a powerful combination that’s both beginner-friendly and scalable. And if you run into any roadblocks, don’t worry—I’ve been there, and I’m happy to help!
Got questions or tips of your own? Just send me an email. Let’s build something amazing together!